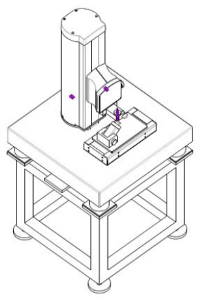
BRAKE DISK
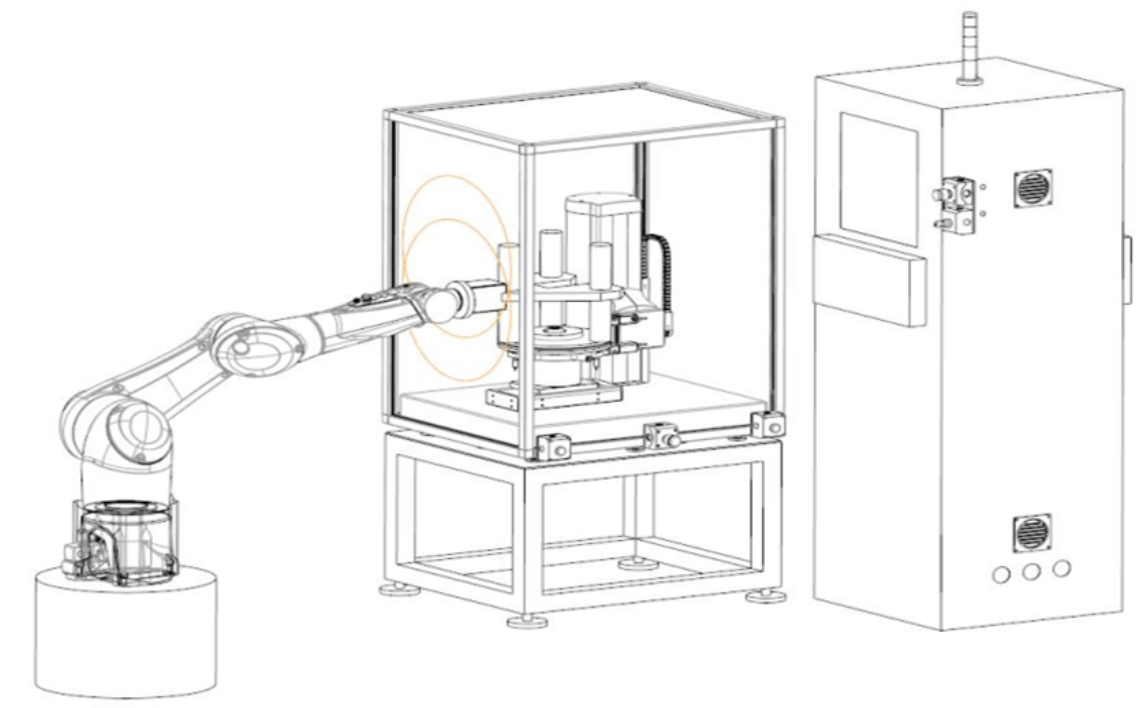
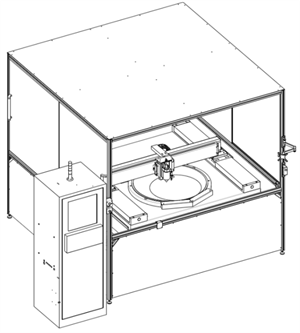
CMP-PAD
Fast measurement with non-contact multi sensors.
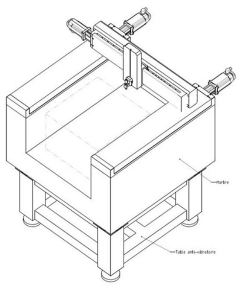
Rapid movement of more than >250 mm/s requires a stable mechanical base, the use of a granite base combined with axes in Gantry mode (Multi motor) guarantees fast and precise movement.
The unique clamping system with micro-porosity technology enables extremely flexible and thin workpieces to be held by vacuum.
The specific and adapted sensors allow a measurement of thickness and roughness according to the standards in force.
Macro editing allows fast programming and easy use in a production workshop
LONG ARM
Our long experience in the field of metrology allows us to carry out roughness measurements on complex surfaces that are far apart from each other thanks to a long special arm. Thus, it is possible to carry out 2D roughness measurements according to ISO 4287 on the X or Y axis or in 3D mode.
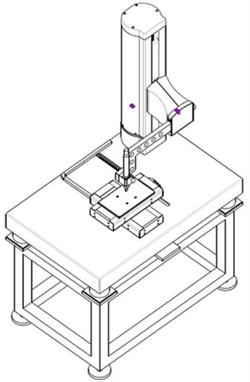
MODULO
The use of guide modules combined with an extremely rigid structural base allows the creation of large machines and thus the measurement of roughness, shape, flatness, etc. Very large, extremely heavy and bulky workpieces can be measured with high accuracy.
MULTI AXES
Our system is capable of integrating additional axes.
Clamping clamps allow 2D roughness measurements to be held and performed on cylindrical parts with high angles or large bending radii according to ISO4287.
The additional axes may be with manual or motorized movement with CNC controller.
