
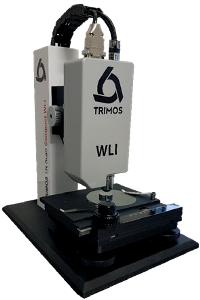
The new TR Scan Compact WLI range allows measurements on any type of material with sub-nanometric resolution.
With its simplicity of use and small size it integrates easily in a lab environment and permit to realize quick and simple measurements.
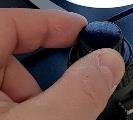
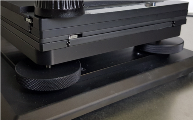
Mounting Bases
The table's thumbwheel allows precise movement in X & Y.
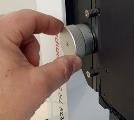
The Z-axis travel wheel has two functions: quick movement and fine positioning to easily adjust the working distance.
| Specifications | WLI 2.5x | WLI 5x | WLI 10x | WLI 20x | WLI 50x | WLI 100x |
| Resolution | 0.1 nm | 0.1 nm | 0.1 nm | 0.1 nm | 0.1 nm | 0.1 nm |
| Lateral resolution (X/Y) | 4.81 µm | 4.81 µm | 1.2 µm | 0.9 µm | 0.66 µm | 0.52 µm |
| Measuring range | 400 µm | 400 µm | 400 µm | 400 µm | 400 µm | 400 µm |
| Measuring range X/Y | ~4536 µm x ~3447 µm | ~2268 µm x ~1723 µm | ~1134 µm x ~861 µm | ~567 µm x ~430 µm | ~226 µm x ~172 µm | ~113 µm x ~86 µm |
| Optical Zoom | 2.5x | 5x | 10x | 20x | 50x | 100x |
| Working distance | ~10.3 mm | ~9.3 mm | ~7.4 mm | ~4.7 mm | ~3.4 mm | ~3.4 mm |
| Specifications | Values | Conditions |
| 01 Range Temp. | 0 à 50 [°C] | |
| 02 Channels | 2 | |
| 03 Resolution | 0.01 [°C] | |
| 04 Accuracy | ±0.5 [°C] | With 2 points calibration and temperature reference: 20°C |
| 05 Communication protocol | USB or serial com | USB by default |
| 06 Power supply | From USB or Serial | |
| 07 Power supply | 0.5 [W] | With 4 sensor configurations |
| 08 Dimensions | 82 x 102 x 36 [mm] | Without sensor |
| 09 Weight | 350 [g] | Without sensor |
| Temp. Sensors | ||
| 10 Type of sensor | PT100 | LP2-PT100D-3.0-4L |
| 11 Cable Lenght | 3 [m] | |
| 12 Tolerance | DIN EN 60751 Classes 1/3 DIN | |
| Serial Com configuration | ||
| 13 Baudrate | 9600 [bits/s] | |
| 14 Bits | 8 | |
| 15 Parity | None |
| Reference | Model | Optics | Manual table | Motorized table |
| TR Scan Compact WLI | ||||
| 700 406 10 31 | TR Scan C. WLI MA 73x55 | 5x, 20x | 75x33 | |
| 700 406 10 34 | TR Scan C. WLI MO 75x50 | 5x, 20x | 75x50 | |
| 700 406 10 35 | TR Scan C. WLI MO 100x100 | 5x, 20x | 100x100 | |
| TR Scan Extended WLI Multiple objectives (Carousel) | ||||
| 700 406 10 32 | TR Scan E. WLI MA 73x55 | 5x, 10x, 50x | 75x33 | |
| 700 406 10 36 | TR Scan E. WLI MO 75x50 | 5x, 10x, 50x | 75x50 | |
| 700 406 10 37 | TR Scan E. WLI MO 100x100 | 5x, 10x, 50x | 100x100 | |
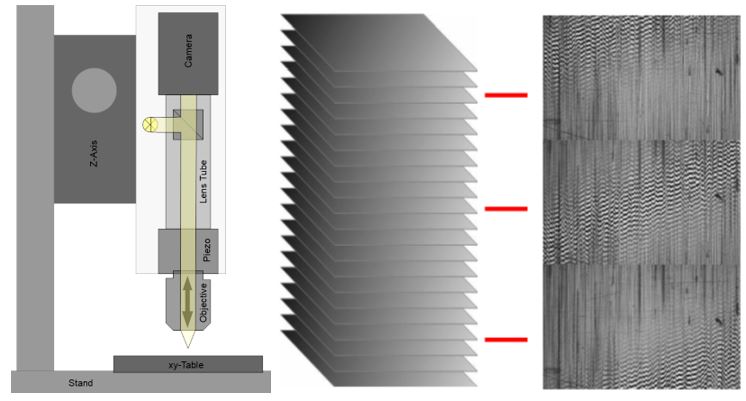
The piezo motor lifts the lens on the z-axis and the camera captures images in equidistant steps.
The image stack contains the information for calculating profile data from the surface.
Each independent pixel will have a so-called correlogram and the maximum variation of the sine light indicates a defined distance Z from the lens.
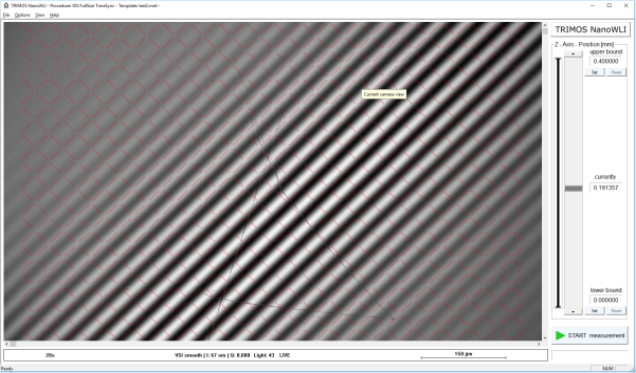
The extremely simple Trimos Compact WLI software allows fast measurement even by an inexperienced user.
In addition to the 3D analysis software, it is possible to carry out any type of analysis on the measurements taken.
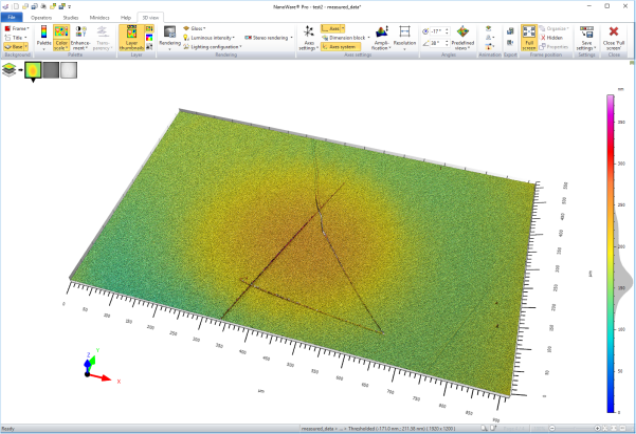
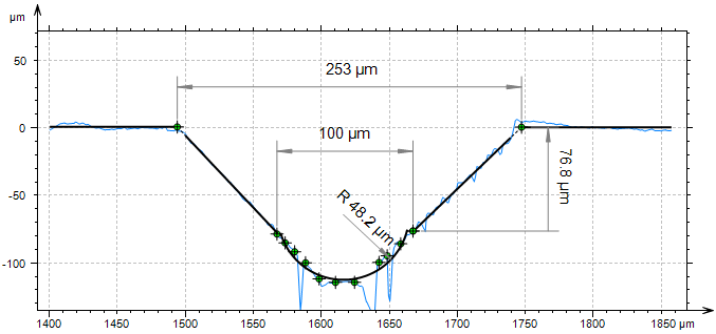
Additional software module : Contour Basic & Advance
The contour module enables additional measurements to be made on the extracted profile, such as angles, distances, radius calculation, as well as the comparison of a DXF with the contour.
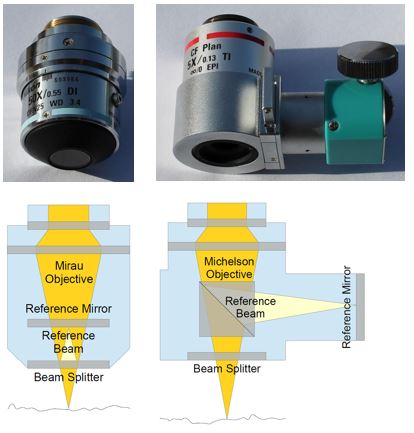
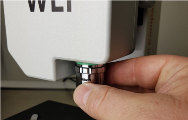
- Mirau objectives are used for higher magnification (10x; 20x; 50x; 100x)- Michelson objectives are used for lower magnification (2.5x; 5x)
- The objectives are exchangeable and this can be used to adapt the system to the necessary field of view and resolution
- Interference pattern will pictured if object and reference beam have the same length
The interferometry provides the extreme height resolution of 0.1 nm for all objectives (in contrary to other principles as confocal microscopy and focus variation)